Introduction
Collaborating on projects, keeping track of source changes, and maintaining a clean code repository are some great reasons to use a version control system. Version control is now considered an essential tool in software development.
Git is the most popular distributed version control system. GitLab is a git repository management server that can be used to host repositories and set up control structures for git within a clean web interface. It is built on Ruby on Rails.
DigitalOcean has created a GitLab application image that can be used to instantly deploy GitLab on a DigitalOcean droplet. You can have your own repository system up and running in minutes.
Step One –– Create a GitLab Droplet
Before you begin using GitLab, you need to spin up a DigitalOcean droplet using the provided image.
From the Control Panel, click on the "Create" button that is visible from any page:

Choose a name, the droplet size, and the region you would like to use.
The GitLab documentation recommends a minimum of 2GB of RAM and 2 CPU cores for optimum performance. If your projects are small (fewer than 100 users total), 1GB of RAM and 1 CPU core may be sufficient:

Scroll down the page. Under the "Select Image" section, choose the "Applications" tab and click the "GitLab 6.2" image.
Add any SSH Keys, select any settings you'd like to use, and click "Create Droplet" at the bottom:

Your GitLab droplet will be created!
Step Two –– Configure Domain Names and Emails
We still need to configure just a few things first to utilize our environment.
Begin by setting up any domain names you would like to use for your GitLab instance. To learn how to set up domain names on DigitalOcean, click here.
Once your domain name is configured correctly, you need to adjust some values on the actual VPS instance. Log into your droplet as root through SSH.
GitLab Shell is an SSH component for GitLab. Open the GitLab shell configuration file with your text editor:
nano /home/git/gitlab-shell/config.yml
Adjust the gitlab_url parameter to match your domain name. As the comment in the file says, your URL should end with a slash:
gitlab_url: "http://your_domain.com/"
Save and close the file.
Next, open the main GitLab configuration file with your text editor:
nano /home/git/gitlab/config/gitlab.yml
In the gitlab: section, find and adjust the host: parameter to match your domain name:
gitlab:
  ## Web server settings
  host: your_domain.com
  port: 80
  https: false
While we're in this file, we can adjust the email settings that GitLab will use in the "From:" field in automated emails, and the email published for support contact, respectively:
email_from: [email protected]
support_email: [email protected]
Save and close the file.
Now, we just need to restart the service:
service gitlab restart
Step Three –– Log into your GitLab
Now, open a web browser and navigate to your domain name (or IP address if you did not set up a domain name).
your_domain.com

You must use the following login credentials to log in for the first time:
- Username: [email protected]
- Password: 5iveL!fe
After entering the above details, you will be asked to select a new password:

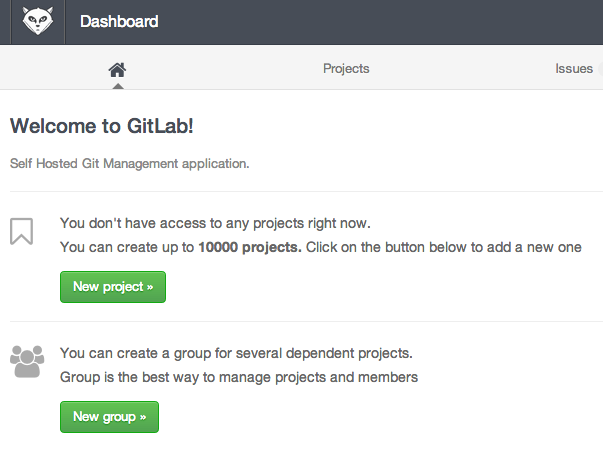
Log in again with your new password. You now have a full GitLab server configured and at your disposal to manage your repositories:
Step Four –– Modify Account Information
It would probably be more helpful if the account you're using more accurately reflected your information. This will allow you to receive email updates and will display your information to other users.
First, click on the "Admin area" icon in the top-right corner:

On the next page, look for a list of "Latest users" in the bottom middle column. This should only contain one user, the Administrator account you are logged into. Click it:

Click on the "Edit" button in the upper-right corner:

Change the account information at the top.
The "Name" field will be your name as displayed to other users. The "username" can be used to log in and as an owner of repositories. The "email" is where alerts will be sent.
It is important to at least change the email field:

Click "Save changes" at the bottom. You should receive a confirmation email in your inbox. This will also allow you to receive password reset emails if you ever require it.
Conclusion
You should now have a server configured to handle your team's git projects. You can easily manage user access, configure both public and private repositories, and get an overview of your projects' issues and commits.
GitLab has a great help system accessible from within the user interface. In a future article, we will discuss how to manage repositories and users and effectively take advantage of the interface.

Comments